


Build Your Own Pipe Coat Rack
For those who love a personal touch: with our high-quality individual parts, you can easily assemble your own clothing rack from scratch. Whether wall brackets, pipes, or connectors – you'll find all the components you need for your DIY industrial-style project right here. Perfect for custom wardrobes, creative room design, and one-of-a-kind interior concepts.
-
Wooden shelf in beige
Regular price €25,00 EURRegular priceUnit price per -
Wood shelf in light grey
Regular price €25,00 EURRegular priceUnit price per -
Oak wood shelf
Regular price €68,00 EURRegular priceUnit price per -
Wooden shelf in blue
Regular price €25,00 EURRegular priceUnit price per -
Wooden board in green
Regular price €25,00 EURRegular priceUnit price per -
Wooden shelf in wine red
Regular price €25,00 EURRegular priceUnit price per -
Wood shelf in black
Regular price €25,00 EURRegular priceUnit price per -
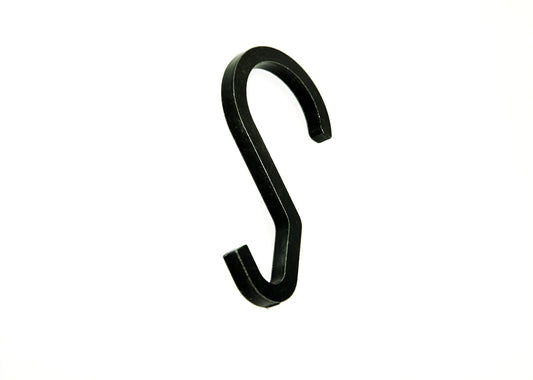
Universal S-Hooks – Practical Hanging Solution for Every Need (Set of 5)
Regular price €9,90 EURRegular priceUnit price per -
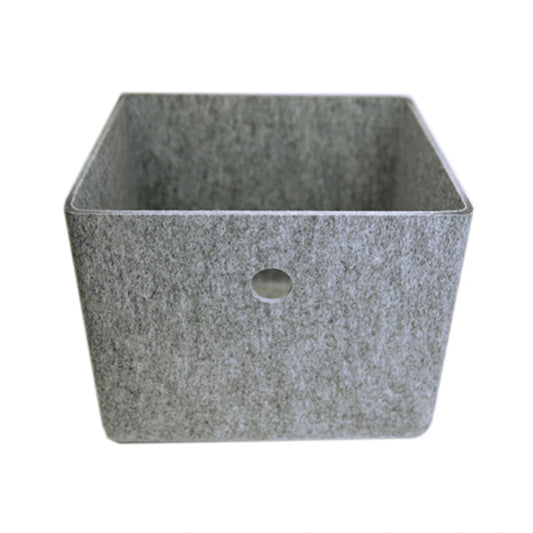
Stylish Felt Basket – The Perfect Addition to Your Pipe Shelving Units
Regular price €29,90 EURRegular priceUnit price per -
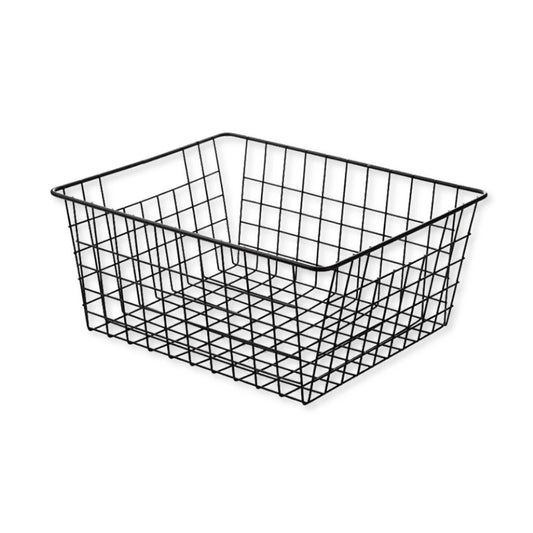
Basket for Underwear & Socks
Regular price €14,00 EURRegular priceUnit price per€14,00 EURSale price €14,00 EUR -
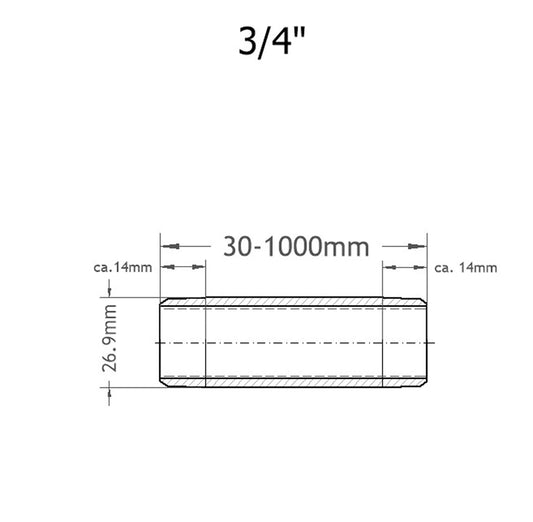
Pipe Nipple 3/4 Inch
Regular price From €1,40 EURRegular priceUnit price per -
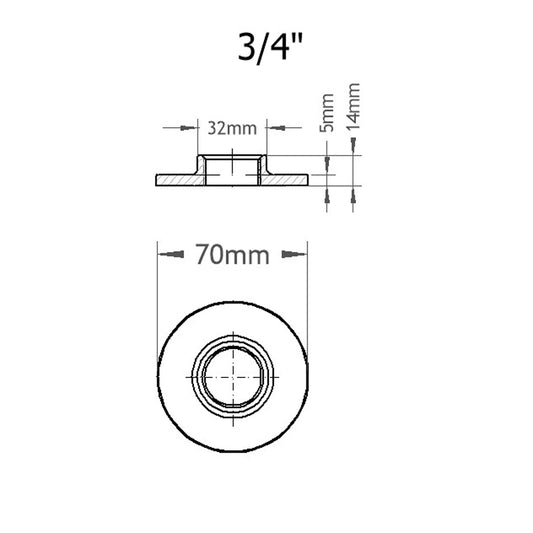
Threaded flange with hole 3/4 INCH
Regular price €6,50 EURRegular priceUnit price per -
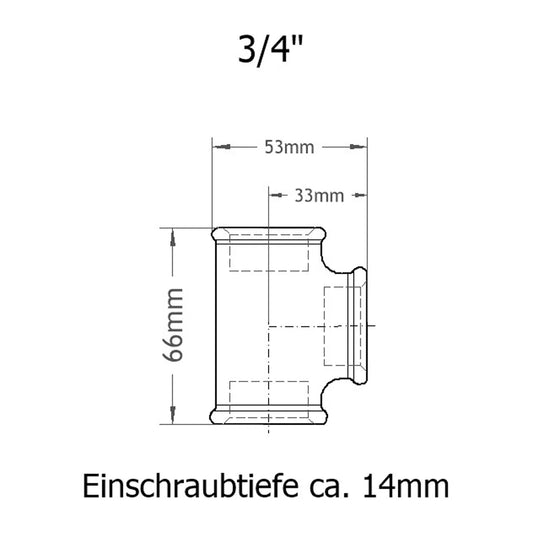
T-Piece ¾ Inch
Regular price €4,90 EURRegular priceUnit price per€4,90 EURSale price €4,90 EUR -
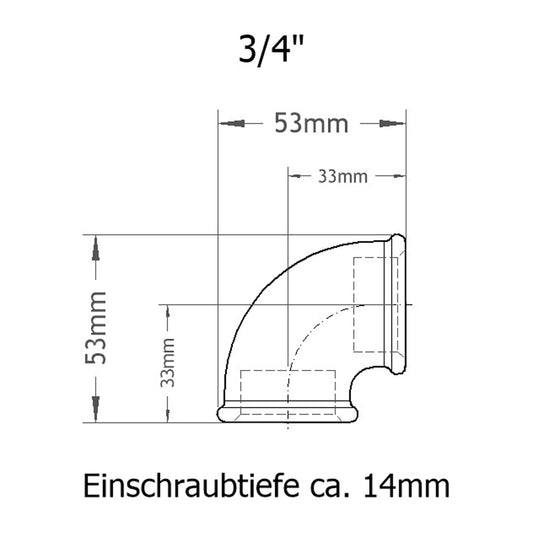
Angle IG/IG 3/4 Inch
Regular price €4,90 EURRegular priceUnit price per€4,90 EURSale price €4,90 EUR -
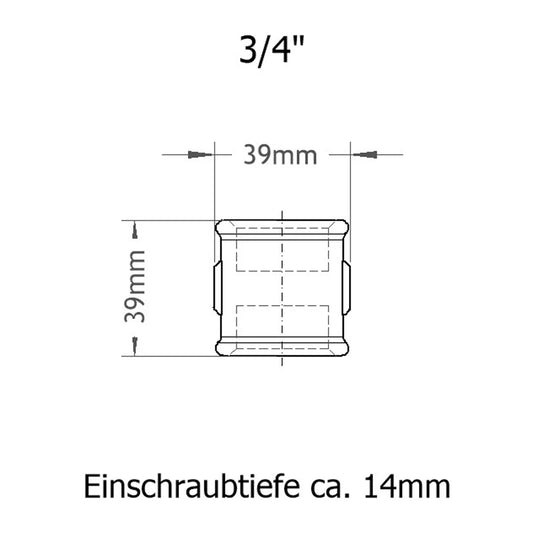
Sleeve ¾ Inch
Regular price €4,90 EURRegular priceUnit price per -
Threaded flange without hole 3/4 inch
Regular price €6,50 EURRegular priceUnit price per


DIY Clothing Rack Made from Pipes: Industrial Style Clothes Stand
Discover the world of DIY clothing racks and transform your living space with a truly unique design. With pipes, fittings, and a touch of creativity, you can build a sturdy and functional wardrobe that brings an unmistakable industrial style to any bedroom or hallway.
Who is URB.STYLE?
The manufactory for modern pipe furniture
URB.STYLE is a renowned manufactory specialising in the production of modern pipe furniture. Our furniture combines timeless design with robust craftsmanship that goes far beyond the requirements of a classic clothing rack.
Our approach to industrial style
Our approach to industrial style is defined by a combination of raw materials such as metal and the clean lines of modern design. Building your own pipe clothing rack allows you to integrate this on-trend style into your home.
Quality "Made in Germany"
Quality "Made in Germany" stands for precision, durability, and reliability. At URB.STYLE, we place great importance on ensuring our products meet these high standards. Stability and careful craftsmanship are guaranteed.
Why a DIY clothing rack?
A DIY clothing rack offers numerous advantages. You can design and customise it exactly to your specifications, making it an ideal solution for individual room concepts. Building a DIY clothing rack is not only cost-effective, but also a creative project that gives you the freedom to transform your wardrobe into a true eye-catcher.
Space-saving solutions for every hallway: A custom-built clothing rack makes it easy to create space-saving solutions for any hallway. Especially in narrow spaces, a floating clothing rack or a freestanding construction with clever fittings and pipe components offers the opportunity to make the most of the available space.
Flexibility and adaptability
A DIY clothing rack stands for flexibility and adaptability. It can easily be adjusted to new circumstances and extended or redesigned as needed. Whether you are looking for a curtain rod alternative or a creative solution for your dressing room, a DIY clothing rack puts no limits on your imagination.
Materials and tools
The best pipes for your clothing rack
When selecting the right pipes for your DIY clothing rack, material quality plays a central role. Metal pipes, particularly those made from robust steel or copper, provide the stability needed to carry even heavy loads without issue. These materials are not only durable, but also give your wardrobe that signature industrial style.
Essential tools for the build
To build your own pipe clothing rack, you will need a few basic tools:
Fittings and end caps: the right components
Fittings and end caps are essential for giving your DIY clothing rack stability and a polished finish. Fittings allow the pipes to be connected securely, while end caps provide a clean finish. These components are available in a variety of designs, so you can let your creativity run free.
Step-by-step guide
Planning and designing your clothing rack
Before you start building your clothing rack, careful planning is essential. Consider where the rack will be placed and what dimensions it needs to make the most of the space. Sketch a rough design to ensure all components fit together.
Building the clothing rack: step by step
- Cut the pipes to the desired lengths
- Attach the fittings to the pipe ends
- Connect the parts according to your design plan
- Check that all connections are tight and secure
Assembly and installation
Once all parts of your clothing rack are assembled, it is time to mount it in the desired location. Use appropriate screws and wall plugs to secure the construction firmly to the wall or ceiling. Make sure the clothing rack is mounted stably to ensure a load capacity of up to 100 kg.
Prefer to buy ready-made rather than build yourself?
Discover our premium clothing racks – Made in Germany!
Tips and tricks for the perfect DIY project
Visual inspiration from Pinterest
Pinterest is an excellent source of creative ideas and inspiration. You will find countless designs and guides there to help you bring your vision to life. Let yourself be inspired by the variety of styles on offer!
Avoiding mistakes
Careful planning is crucial. Make sure to choose the correct dimensions and use high-quality materials. Verify that all fittings and screws are tightened securely to ensure stability.
How to care for your clothing rack
Wipe the pipes regularly with a soft, damp cloth to remove dust and dirt. Avoid harsh cleaning agents that could damage the metal. This will keep your clothing rack looking great for years to come.
Frequently asked questions
Not in the mood for DIY?
Discover our ready-made clothing racks and individual parts – professional quality Made in Germany, ready to use straight away!
Shop DIY individual parts